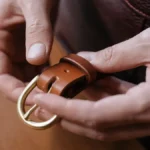
You can burnish leather edges like a pro by rubbing the edge briskly with a canvas or special tool. This process uses friction to smooth the leather and darken the edge. When you burnish leather edges, you seal the fibers, making them water-resistant and more durable. Applying water, beeswax, or gum helps the tool glide and creates a glossy, finished look. With simple tools and steady effort, you achieve results that look professional and last.
Key Takeaways
- Burnishing leather edges makes them last longer and look better. It closes the fibers, so water cannot get in and the edges do not come apart.
- Use important tools like bone folders and wooden slickers to burnish well. These tools help you make the edges smooth and look nice.
- Add water or burnishing compounds like Tokonole to help with burnishing. This step gives the leather a shiny look and keeps it safe.
- Be patient and careful when you burnish. Go slowly and press evenly to avoid mistakes and get good results.
- Try different compounds and tools to see what works best for you. Each way can give your project a special look and make it better.
What Is Burnishing
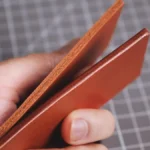
Burnishing is a way to finish leather edges. You use a tool or cloth to rub the edges. This rubbing makes heat and presses the fibers together. It keeps the edges from getting loose or fuzzy. You can burnish both the top and bottom sides of leather. The edge will look shiny and smooth when you are done.
Why Burnish Leather Edges
There are many good reasons to burnish leather edges:
- Sealing the edges keeps water out and stops rot.
- Burnishing holds the fibers tight, so leather lasts longer.
- It keeps the edges from getting fuzzy as time goes by.
- Your leather projects look neat and stand out.
Tip: If you want your leather items to last and look great, always burnish the edges.
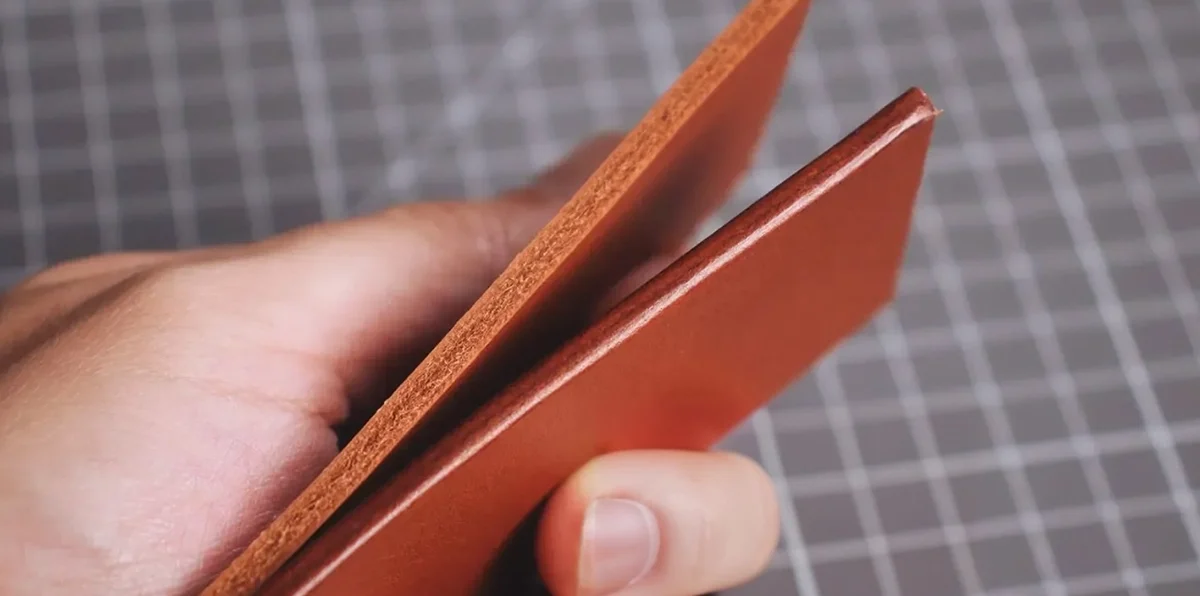
Benefits for Appearance and Durability
Burnishing helps your project look better and last longer. When you burnish leather edges, you make them stronger and nicer.
- Burnishing lines up and smooths the edge, making it tough.
- It presses and seals the fibers, so they do not fray or wear out.
- Over time, burnished leather gets a special shine that shows its age.
- A burnished edge keeps out water and stands up to daily use.
- The shiny finish lets the leather’s natural oils show, making it look even better.
Burnishing leather edges makes your work look nice and last longer. This easy step adds value and helps your leather projects stay strong.
Tools and Materials
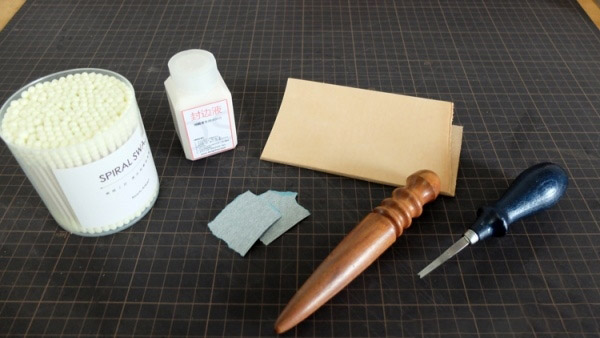
Essential Tools for Burnishing
You need certain tools to burnish leather edges well. Each tool helps make the edge smooth and strong. Here are some important tools you should know:
- Sand Paper: You can prepare some 200-grit, 400-grit, 800-grit, and 1200-grit sandpaper.
- Wooden slickers: Use these for bigger projects. They help make the edge even and nice.
- Edge bevelers: These tools round off sharp corners before you start burnishing.
- Water and saddle soap: Water makes burnishing easier and helps seal the edge.
When you use these tools, you seal the leather. This keeps water out and stops the edge from fraying. Your project will look better and last longer.
Recommended Compounds and Oils
Special compounds and oils can help you get great results. These products help you Burnish Leather Edges and make them shiny. The table below shows some popular choices and what they do:
| Compound | Benefits |
|---|---|
| Tokonole | Makes the edge glossy, strong, smooth, and is easy to use. |
| Gum Tragacanth | Good for burnishing, but not as shiny as Tokonole. |
Many people like Tokonole Burnishing Gum. It is water-based and makes edges smooth and shiny. Seiwa Leathercraft Tokonole is also easy to use and works fast.
Tip: Try different compounds to find the one you like best.
Optional Tools for Advanced Results
If you want to do more advanced work, you can use special tools. The Diamond Burnish Face Mill is one example. This tool has diamond tips and makes the edge shiny in one pass. You can use it with CNC machines for fast and even edges. These tools help you get perfect edges with less work.
You do not need fancy machines when you start. But they can help you get pro results as you learn more.
How to Burnish Leather Edges
Burnishing leather edges takes patience and practice, but you can master it by following a clear process. Each step helps you create smooth, shiny, and strong edges that look professional. Here is how you can do it:
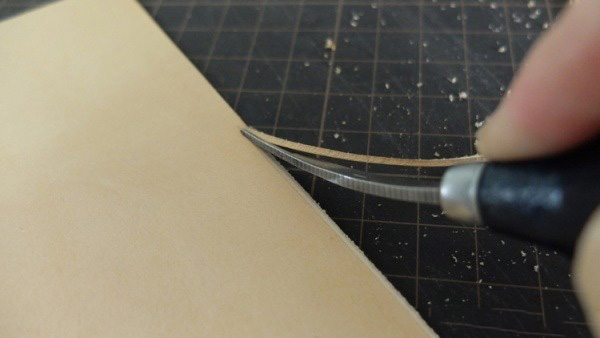
Bevel and Prepare Edges
Start by trimming any uneven parts of your leather with a sharp knife. Choose an edge beveler that matches your leather’s thickness. For example, use a 1.5 mm beveler for leather that is 2–3 mm thick. Hold the beveler at a 45-degree angle and pull it gently along the edge. Do this on both sides to remove the sharp corners. Check your work with a small ruler to make sure the bevel is even.
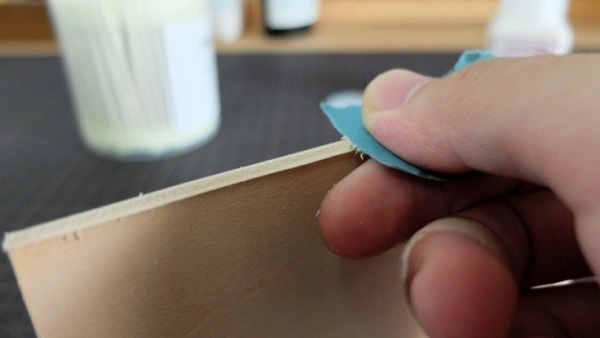
Next, sand the edge. Begin with 220 grit sandpaper to smooth out any rough spots. Move to 320 grit, then finish with 400 grit for a soft, velvety edge. If you want an even smoother finish, use 1200 grit sandpaper at the end. Lightly dampen the edge to raise the fibers before you move to the next step. You can also use a clamp or jig to hold your leather steady while you work.
Tip: Always test your beveling and sanding on a scrap piece first. This helps you avoid mistakes on your main project.
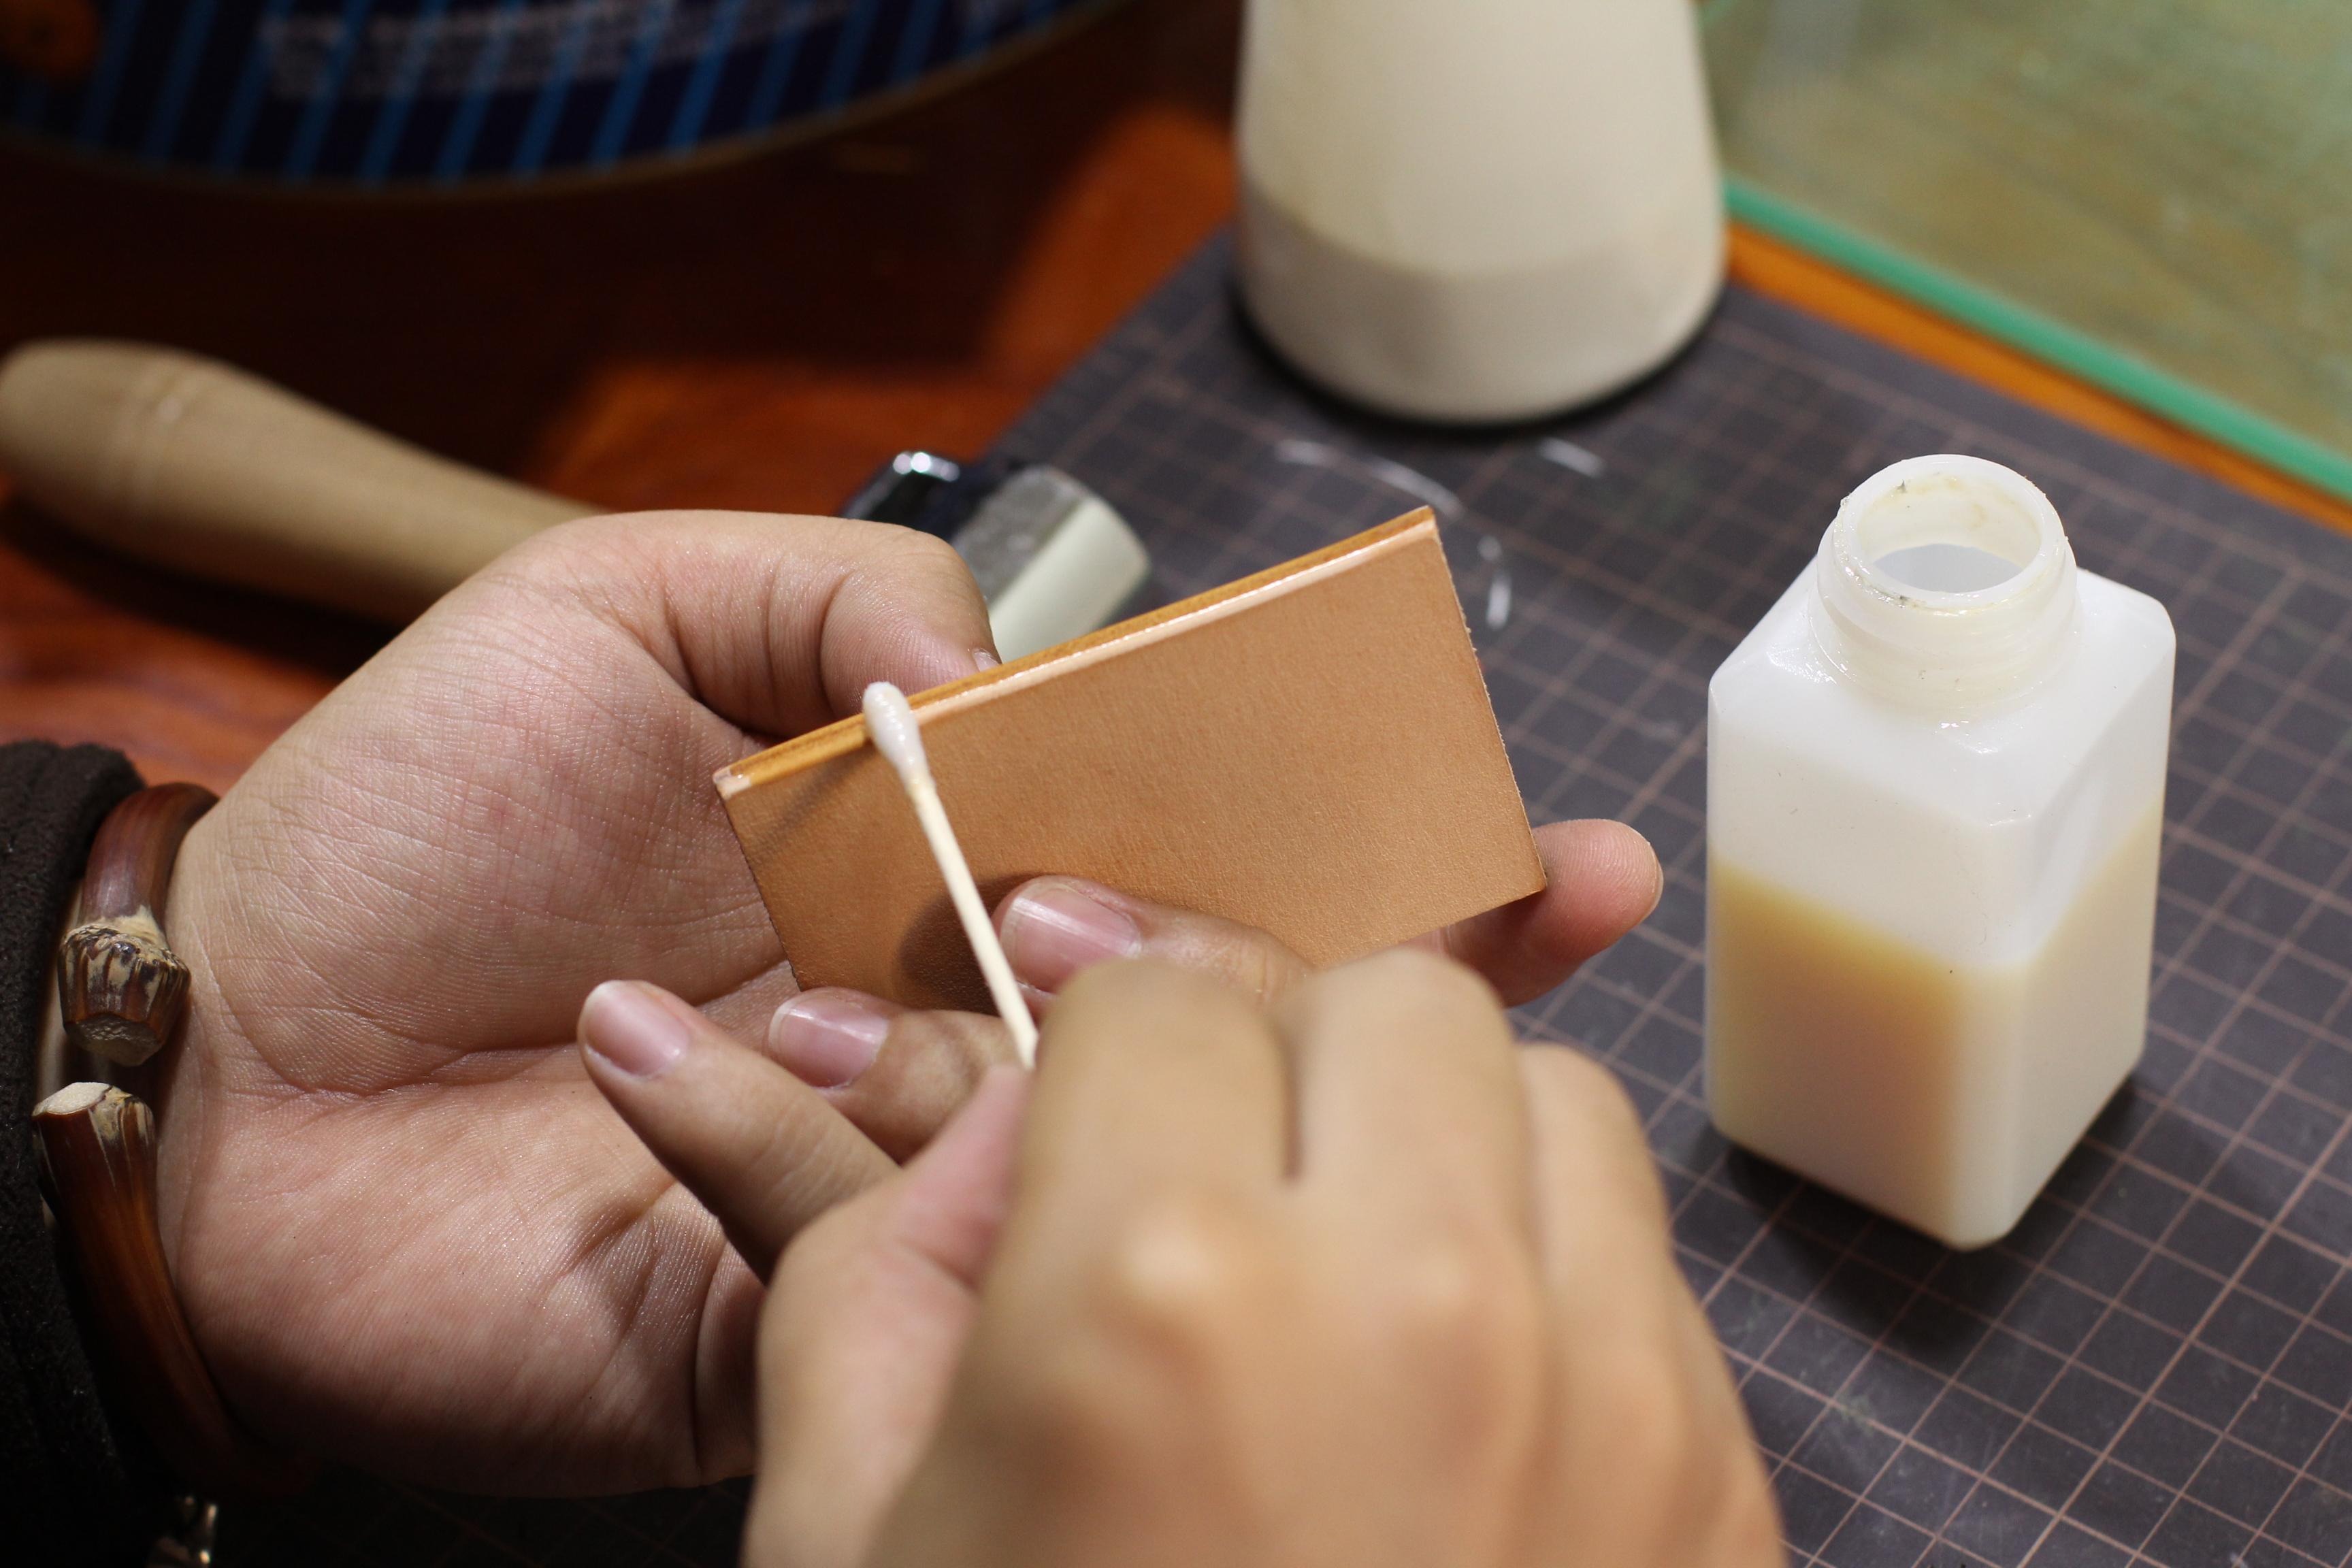
Apply Moisture or Gum
Moisture or burnishing gum helps you get a glossy, sealed edge. Lightly dampen the edge with a wet sponge or a quick spritz of water. This raises the tiny fibers and prepares them for burnishing. You can also apply a small amount of burnishing compound, like Tokonole or Gum Tragacanth. These products help seal the fibers, protect against fraying, and give your edge a high-end look. Moisture and gum also guard against water entering the leather, making your project last longer.
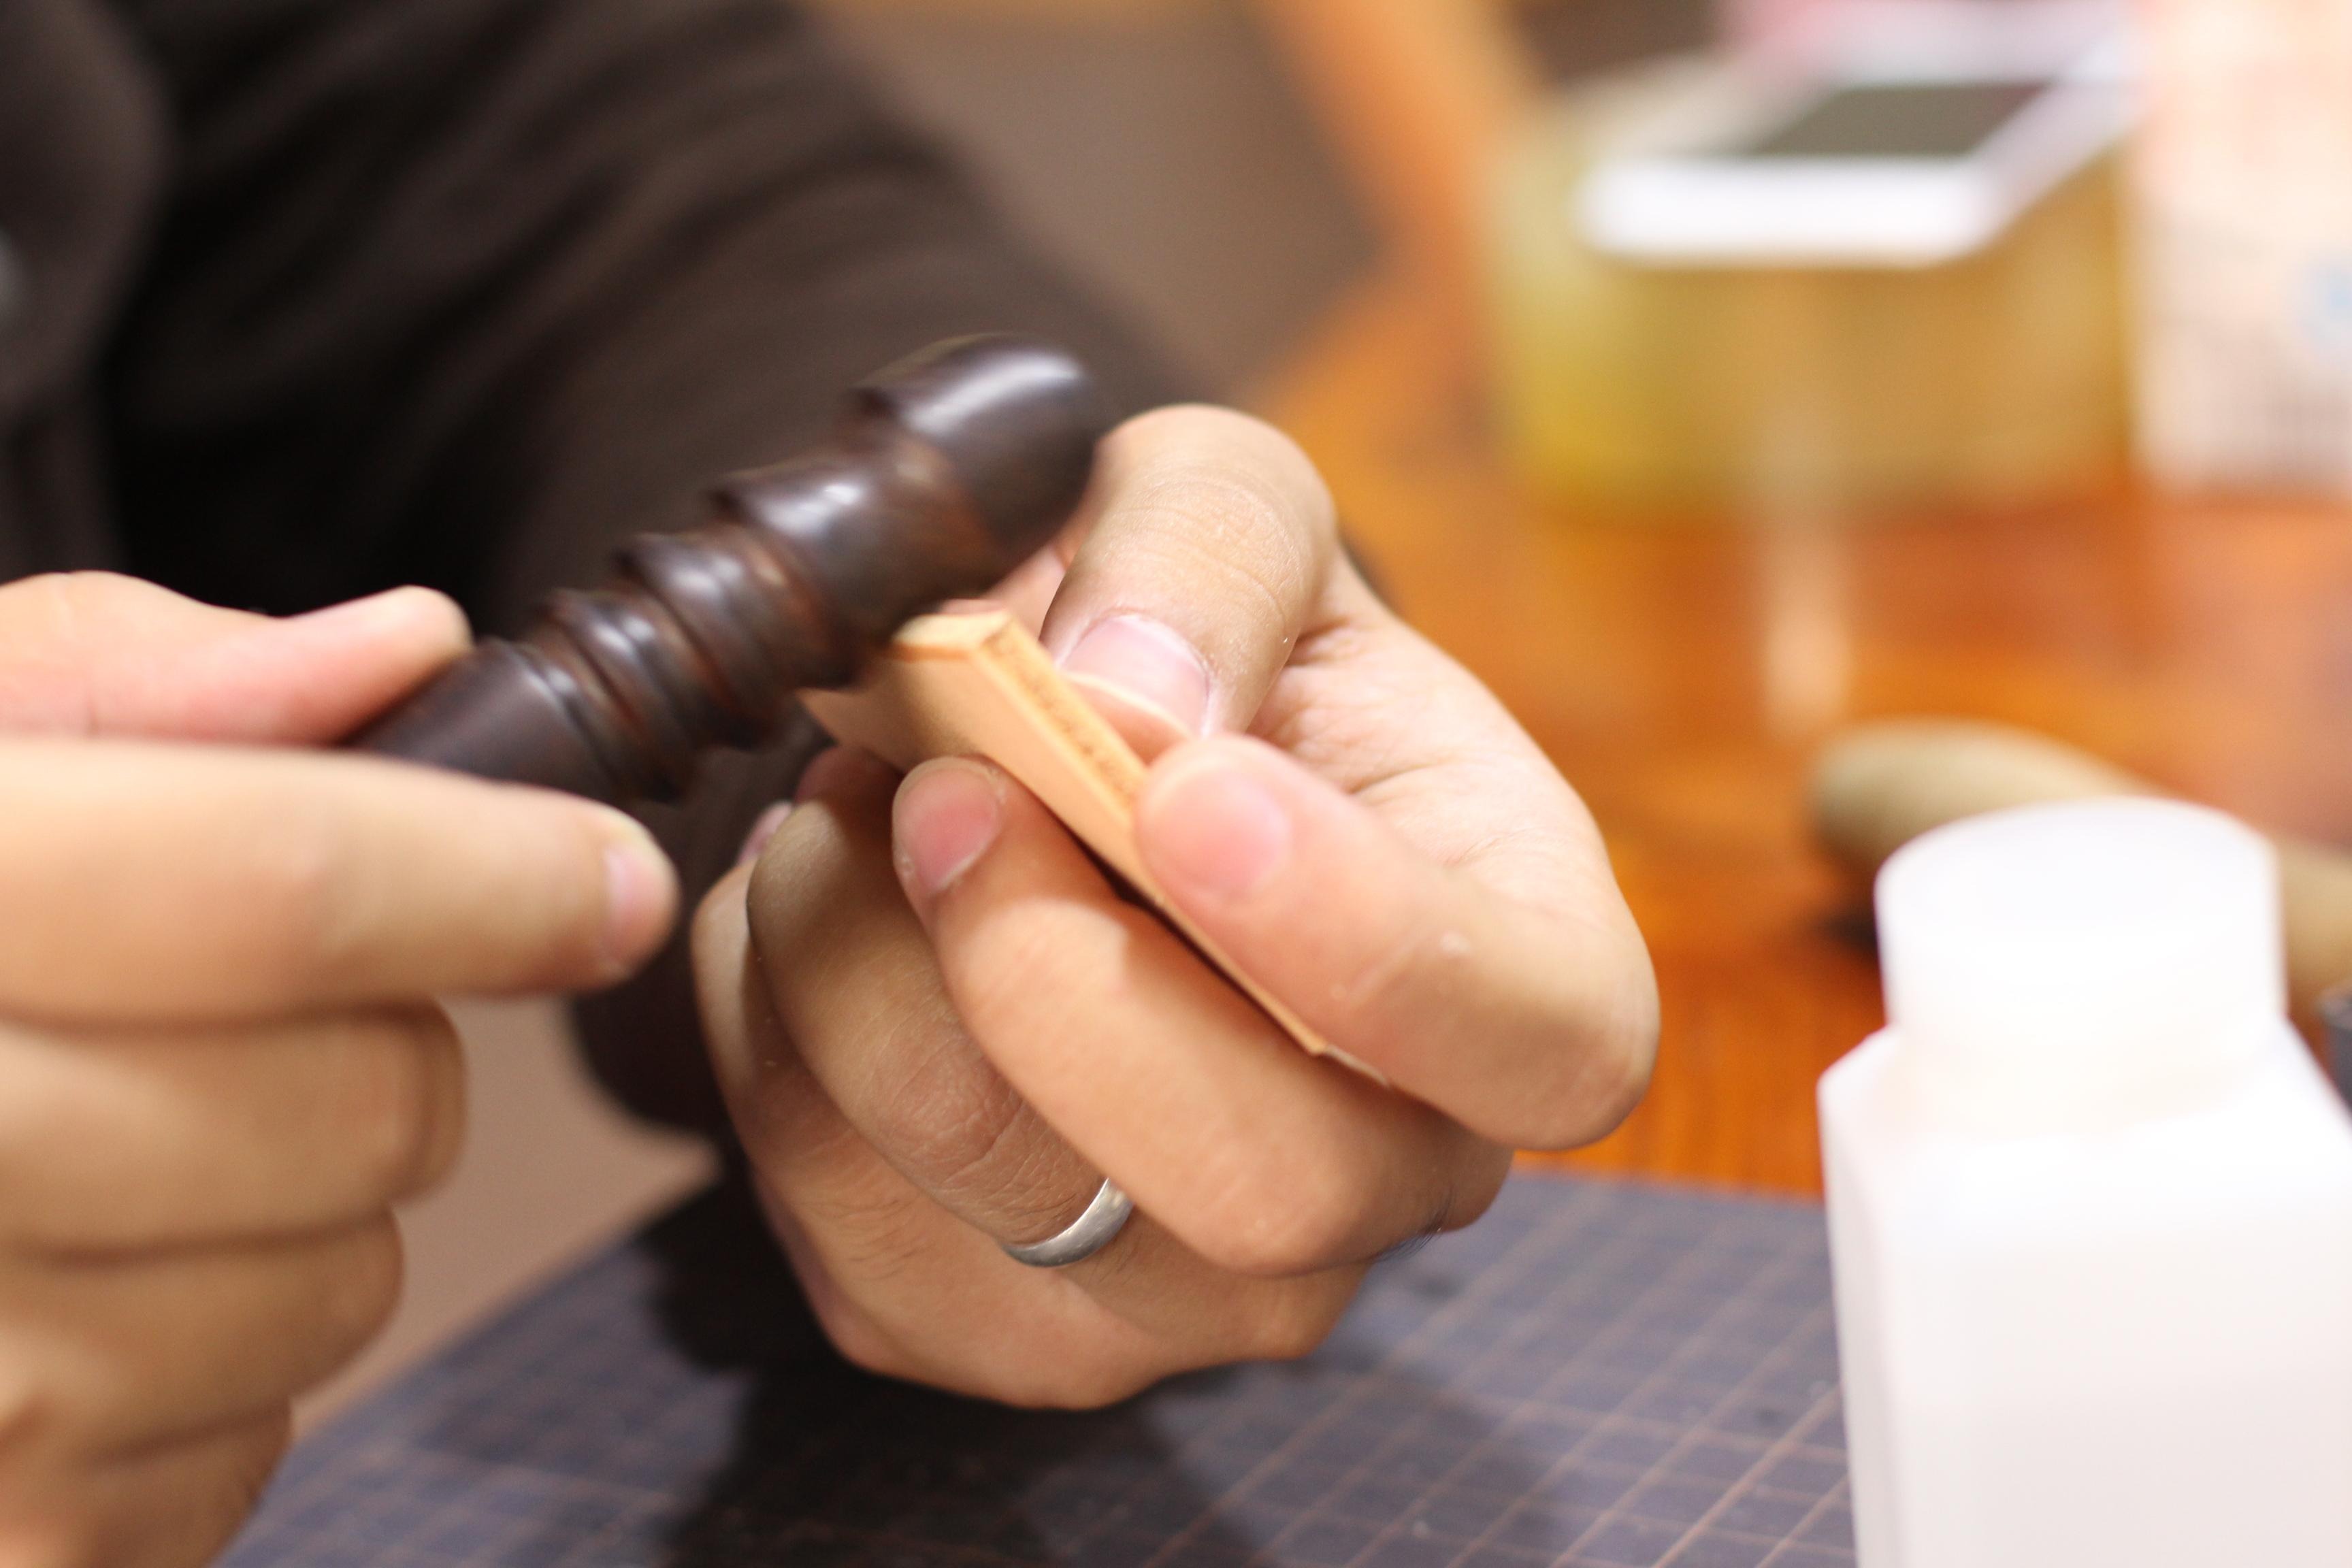
Burnish with Tool or Cloth
Now you are ready to burnish. Use a wooden slicker, bone folder, or a strip of canvas. Rub the edge briskly for 30 to 60 seconds. If you use a machine, like a cotton buffing wheel on a drill, keep the speed low and move the leather evenly along the wheel. Always check the edge as you go. You want a smooth, even color with no loose fibers. After burnishing, buff the edge with a dry canvas for extra shine. You can test the edge by dropping a bit of water on it. If the water beads up, you have done a good job.
Use Beeswax for Finish
Beeswax adds a strong, water-resistant finish to your leather edge. Warm the edge slightly, then rub a small amount of beeswax onto it. Buff the edge quickly with your slicker or a cloth. The heat from friction helps the wax soak into the leather. This step gives you a smooth, hard edge that looks great and stands up to daily use. Beeswax also adds a matte to semi-gloss finish, which works well for belts, wallets, and other items.
Condition with Jojoba Oil
Finish by conditioning the edge with jojoba oil. Put a small drop on a soft cloth and rub it gently along the edge. This step keeps the leather flexible and prevents it from drying out. Conditioning also brings out the natural shine and color of the leather, making your work look even better.
Common Mistakes to Avoid
| Mistake Description | Explanation |
|---|---|
| Over-aggressive beveling | Too much pressure can create deep gouges instead of a smooth finish. |
| Skipping grit progression | Jumping from rough to fine sandpaper leaves visible valleys after burnishing. |
| Burnishing edges that are too wet | Wet edges do not compress well; wait until tacky before burnishing. |
| Uneven burnishing | Inconsistent pressure leads to an uneven sheen and finish. |
| Expecting burnishing to fix a bad bevel | Burnishing cannot fix an uneven or damaged bevel. |
| Forgetting the flesh side | Neglecting the flesh side results in a rough, unfinished look. |
Note: Beginners often rush or use too much pressure. Take your time and use gentle, even strokes for the best results.
When you follow these steps, you can Burnish Leather Edges that look and feel professional. Remember, practice makes perfect. Try different tools and compounds to find what works best for you.
Advanced Burnishing Tips
Achieving a Glass Finish
You can achieve a glass-like edge on your leather by following a careful process. Start with a flat edge. Sand the edge in steps, moving from coarse to very fine grits. Begin with 120 grit sandpaper, then use 220, 320, 400, 600, and 800. After sanding, bevel the edge for a rounded look. Continue sanding with 1000, 1200, 1500, 2000, and 3000 grit. Use Micro Mesh pads for the final steps, going up to 12000 grit.
Apply Tokonole burnishing gum after each sanding stage. Rub the edge with a canvas cloth to create heat and shine. Repeat this process, adding more Tokonole and sanding with finer grits each time. This method seals the fibers, prevents fraying, and gives your leather a smooth, glossy finish. You will notice the edge becomes shiny and feels like glass.
Tip: Use a canvas cloth instead of a wooden slicker for the final buff. This helps you get a high-end look and a smooth feel.
Some advanced crafters use machines with gentle action and special burnishing compounds. These machines use porcelain balls and lubricants to polish the edge without causing damage. You can try these methods if you want to experiment with professional tools.
Maintaining Tools
Clean and care for your burnishing tools to keep them working well. Wipe tools with a soft cloth after each use to remove any leather or compound residue. Avoid harsh cleaners that can scratch or damage the surface. Store your tools in a dry, safe place so they do not bend or lose their shape.
If you use wooden tools, rub them with food-safe mineral oil from time to time. This keeps the wood smooth and prevents cracking. Check your tools for dust or debris before you start. Sweep or vacuum your workspace to keep everything clean. Good airflow helps when you use chemicals, so open a window if you can.
Note: Clean spills right away and check power cords if you use electric tools. Protect nearby surfaces to avoid messes.
When you maintain your tools, you make it easier to Burnish Leather Edges and get great results every time.
Burnishing leather edges becomes easy when you follow the right steps. Try these for the best results:
- Set up your tools and apply a small amount of compound.
- Use gentle, even pressure as you move along the edge.
- Buff with dry canvas for a glossy finish.
- Inspect your work and test with water.
Practice on scrap leather. Each time you try, your technique improves. You will see smoother, glossier, and stronger edges. Keep experimenting with different methods to find what works best for you.
FAQ
How long does it take to burnish leather edges?
You can burnish a small project in about 10–15 minutes. Larger items may take longer. Take your time for the best results. Rushing can lead to uneven edges.
Can you burnish leather without special tools?
Yes! You can use a piece of canvas, a smooth stick, or even the back of a spoon. These household items work well for beginners.
What is the best compound for burnishing?
Tokonole and Gum Tragacanth are popular choices. Tokonole gives a glossy finish. Gum Tragacanth works well for a natural look. Try both to see which you prefer.
Why do my edges look rough after burnishing?
Tip: Sand the edges with fine grit sandpaper before burnishing. Uneven or rough edges often mean you skipped sanding or used too much moisture.