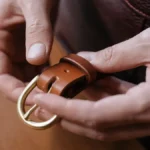
Yes, you can fix cracked leather and make it look great again right at home. It feels awesome when you bring your favorite item back to life. You probably see cracks in things you use every day, like:
- Handbags
- Wallets
- Shoes
- Other accessories
If you want to learn how to repair cracked leather, you’ll find the process simple and rewarding. Anyone can do it, no matter your experience.
Key Takeaways
- You can repair cracked leather at home with simple steps. Cleaning, conditioning, and filling cracks can restore its beauty.
- Regular care is essential. Clean and condition your leather every few months to prevent cracks and keep it strong.
- Store leather properly in a cool, dry place. Avoid direct sunlight and extreme temperatures to protect it from damage.
- Act quickly on small cracks. Early repairs can save you money and keep your leather looking great for years.
Why Leather Cracks
Leather looks tough, but it can crack if you don’t take care of it. You might wonder why this happens. Let’s break it down so you know what to watch out for.
Common Causes
Many things can cause leather to crack. Here are some of the most common reasons:
- Heat and direct sunlight pull moisture out of leather. When leather dries out, it becomes stiff and cracks.
- Dryness is a big problem. If you don’t condition your leather, it loses its natural oils and gets brittle.
- Bright, dry spaces can make leather break down faster.
- Improper storage in damp or poorly ventilated places can lead to mold, which weakens leather.
- Physical stress like folding, stretching, or overloading your leather items can cause cracks.
- Body oil and dirt wear down the protective layer, making cracks more likely.
- Poor quality leather or problems during manufacturing can make leather more likely to crack.
- Rapid humidity swings can cause tiny cracks over time.
Tip: Keep your leather away from windows, heaters, and cars on hot days. Store it in a cool, dry place and wipe it down often.
You can also see the main causes in this table:
| Cause of Cracking | Explanation |
|---|---|
| Deterioration due to dryness | Leather loses moisture from heat, low humidity, or bad storage. |
| Physical stress | Folding, pressure, and friction create cracks. |
| UV rays and heat | Sunlight and heat break down fibers and dry out leather. |
| Repeated moisture and drying | Wetting and drying cycles wash away oils and weaken leather. |
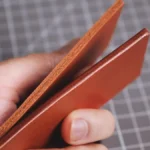
Light vs. Deep Cracks
Not all cracks are the same. Some are small and only affect the surface. Others go deeper and need more work to fix.
- Light cracks look like tiny lines. You can often fix these with cleaning and conditioning.
- Deep cracks cut into the leather. These need fillers, sanding, and sometimes professional help.
If you see deep cracks, you might want to use special repair kits or even ask a pro for help. For most light cracks, you can follow the steps in this guide on how to repair cracked leather and get great results at home.
Tools and Products Needed
Before you start fixing cracks, you need the right tools and products. You can find most of these at local stores or online. Having the right supplies makes the process easier and helps you get better results.
Cleaning Supplies
You want to clean your leather before you do anything else. Dirt and oils can stop repair products from working well. Here’s what you should use:
- Commercial leather cleaners
- Olive oil, coconut oil, beeswax, shea butter, lanolin, or jojoba oil
- Vinegar and linseed oil mixture
Tip: Stay away from household chemicals like window cleaners, bleach, nail polish remover, glue, shoe polish, paint, or anything with solvents. These can ruin your leather. Don’t use regular detergents or harsh products for tough stains.
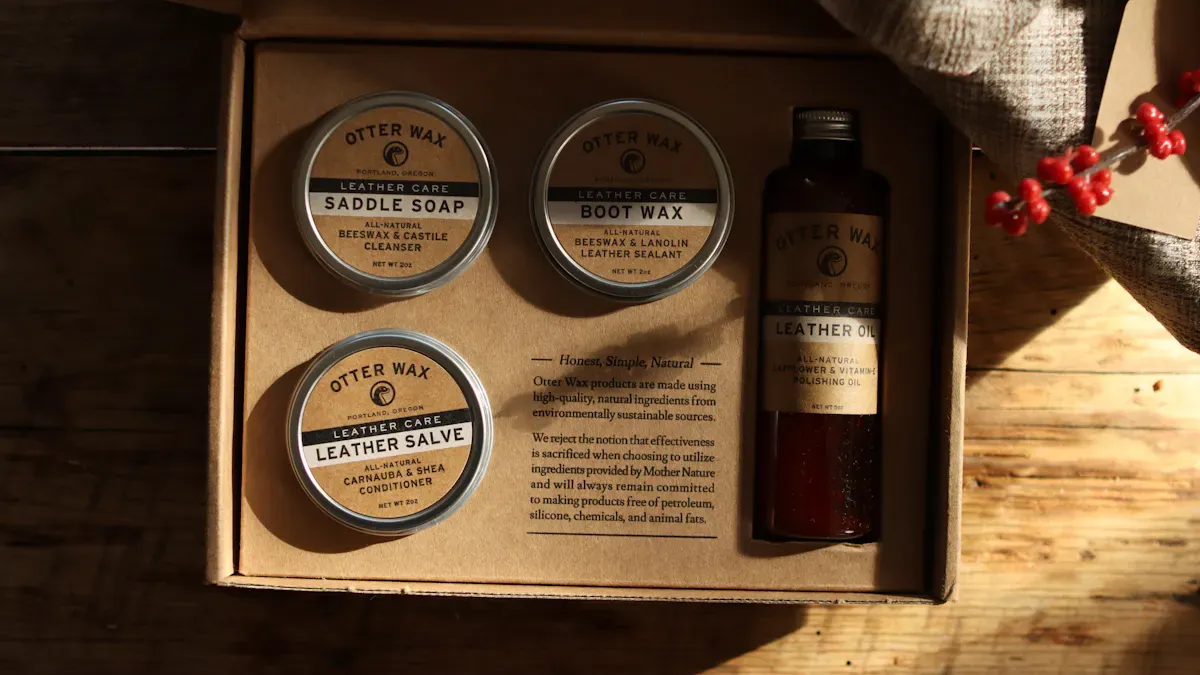
Conditioners and Fillers
Conditioners and fillers help restore your leather and fill in cracks. You need these for both light and deep repairs.
- Leather conditioner brings back moisture and keeps leather soft. It stops new cracks from forming.
- Leather filler or repair cream works for deeper cracks. It smooths the surface and blends with the leather.
- Leather binder strengthens worn and cracked spots.
- Heavy filler fixes scuffs and holes.
- Leather flexifil handles heavy cracking and stays flexible.
Leather conditioners also protect your item from heat and sunlight. They make your leather last longer by keeping it strong and flexible.
Repair Kits and Sanding Tools
A good repair kit gives you everything you need for how to repair cracked leather. You can use these tools for both small and big jobs.
- Leather cleaners for removing dirt and oils
- Conditioners for restoring moisture
- COLOURLOCK Leather Glue and Backlining Cloth for tears
- Leather sanding pad for smoothing rough spots
- Leather protector for surface care
- Elephant Leather Preserver for older leathers
- Cleaning brush, mini brush, cleaning sponge, and care cloth
Sanding tools help you get a smooth finish. They remove rough edges and prepare the leather for fillers and conditioners. If you use them right, you protect the leather and make repairs last.
Here’s a quick look at costs:
| Type of Repair | Cost Range |
|---|---|
| DIY Leather Repair | $15 – $50 |
| Professional Leather Repair | $100 – $500 |
You can see that doing it yourself saves money. With the right tools, you can fix cracks and make your leather look new again.
How to Repair Cracked Leather
You can bring cracked leather back to life with a few simple steps. Whether you see light lines or deep grooves, you can follow this guide and learn how to repair cracked leather at home.
Cleaning and Prepping
Start with a clean surface. Dirt and oils can stop repair products from working well. Here’s how you can get your leather ready:
- Test your leather cleaner on a small, hidden spot. Make sure it does not discolor the leather.
- Use a soft cloth or sponge to gently clean the cracked area. Soap or a leather cleaner works best.
- Let the leather dry overnight. You want the surface completely dry before you move on.
- Take super-fine sandpaper and gently smooth the cracks. Stop when the leather feels even.
- Wipe away any dust with a clean cloth.
Tip: Never rush the drying process. If you start repairs while the leather is damp, the filler will not stick well.
Conditioning and Moisturizing
Conditioning keeps leather soft and helps prevent new cracks. You need to add moisture back into the leather before you fill any cracks.
- Pick a high-quality leather conditioner. Always test it on a small area first.
- Apply the conditioner evenly with a soft cloth. Use gentle, circular motions.
- Let the conditioner soak in. Wait until the leather feels dry to the touch.
- Buff the area with a clean cloth to bring out the shine.
You should condition your leather every six months. If you live in a dry place, do it more often. This step is key in how to repair cracked leather and keep it looking good.
Filling and Sanding Cracks
Now you can tackle the cracks themselves. The method changes a bit depending on how deep the cracks are.
- For light cracks, a leather conditioner or repair cream may be enough. Rub it in and let it dry.
- For deep cracks, use a leather filler or paste. Spread it over the cracks with a palette knife. Make sure you fill the gaps completely.
- Scrape off any extra filler with the knife. You want a smooth surface.
- Let the filler dry for at least six hours. Do not use heat or direct sunlight.
- Once dry, use fine-grit sandpaper to smooth the area. Sand gently until the surface matches the rest of the leather.
Note: Deep cracks need more care. Filling paste can make the leather look better, but it may not restore full strength and flexibility.
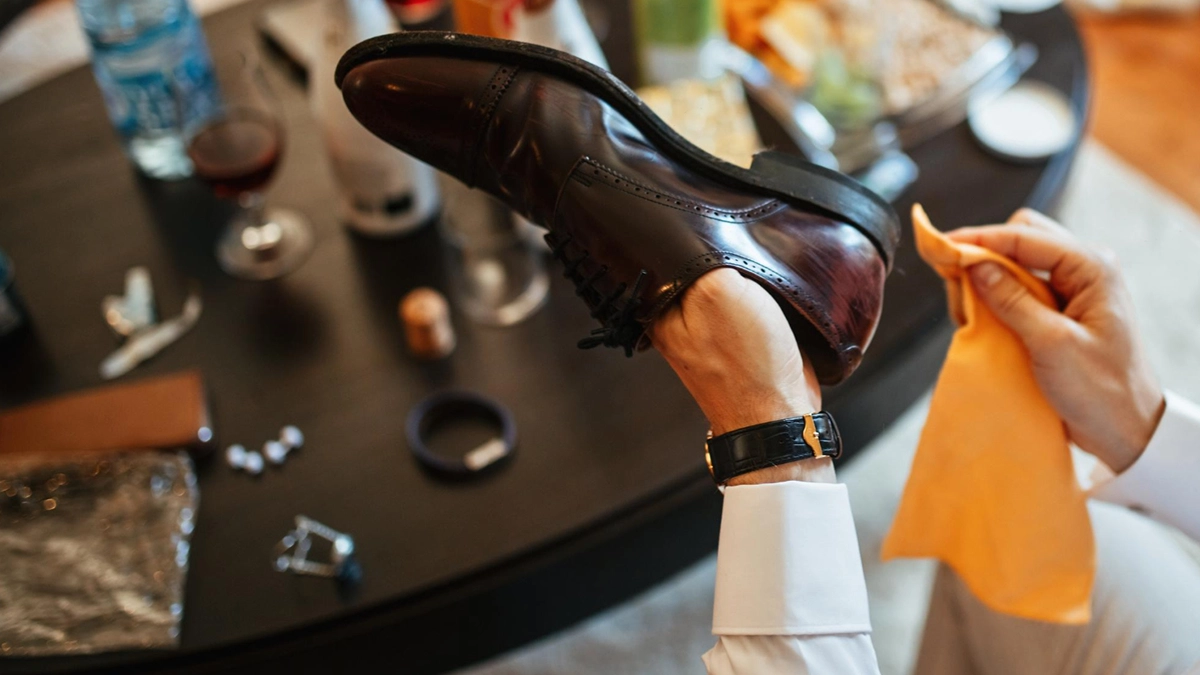
Glazing and Drying
The final step seals your work and protects the repair.
- Use a spray primer made for leather. This helps the color stick and keeps the repair strong.
- If you want, add a spray grain effect to match the texture of your leather.
- Let everything dry completely. Follow the instructions on your products for the best results.
Patience pays off here. If you rush, you might have to start over. Always let each layer dry before you move to the next step.
Callout: Always read and follow the instructions on your repair products. Every brand is a little different.
Now you know how to repair cracked leather from start to finish. With these steps, you can save your favorite items and make them look almost new again.
Preventing Future Cracks
You want your leather to stay beautiful for years. The best way to keep cracks away is to build good habits. Let’s look at what you can do.
Regular Care
Leather needs attention just like your skin. If you clean and condition it often, you stop dryness and keep it strong.
- Wipe your leather with a soft, dry cloth every week. This removes dust and dirt.
- Spot clean spills right away using a damp cloth and mild soap.
- Condition your leather once a month. This keeps it supple and prevents brittleness.
- Inspect your items for signs of wear or damage during your monthly routine.
Tip: Clean your leather at least four times a year with a gentle, solvent-free product. Avoid anything abrasive.
Here’s a handy table showing how often you should care for different types of leather:
| Types of leather | Recommended care frequency |
|---|---|
| Crazy Horse Leather | Once every 3-4 months |
| Full grain leather | Once every 2-3 months |
| Split leather | Once every 1-2 months |
| Nubuck leather | Once every two months |
| PU leather | Once every 2-3 months |
Proper Storage
Where you keep your leather matters. If you store it right, you protect it from cracks, mold, and fading.
- Keep leather in a cool, dry place with good air flow.
- Aim for humidity between 40% and 50%. Too much moisture can cause mold.
- Avoid extreme temperatures. Heat and cold can make leather brittle.
- Don’t leave leather in direct sunlight or near heaters.
Callout: Stable temperature and humidity help your leather last longer. If you store it wrong, you risk discoloration, warping, and surface cracks.
Early Repairs
Small cracks can turn into big problems if you ignore them. Act fast when you see minor damage.
- Fix tiny cracks right away with conditioner or repair cream.
- Clean your leather regularly to keep harmful substances away.
- Check your items often so you catch issues early.
Note: Early repairs save you money and keep your leather looking great. Regular maintenance stops cracks before they start.
If you follow these steps, you give your leather the best chance to stay beautiful and strong. 👜
You can fix cracked leather and make it look great again. Just clean, condition, fill, and protect your leather. Regular care keeps your items strong and helps them last longer. When you repair cracks early, you stop big problems and keep your leather looking sharp.
Take pride in your work! Your leather will stay soft, shiny, and beautiful for years if you give it a little love.
FAQ
Can you fix all types of leather cracks at home?
You can repair most light and medium cracks yourself. Deep cracks or tears may need a pro. Always check the leather type before you start.
How long does it take to repair cracked leather?
Most repairs take a few hours. You need to let products dry between steps. For best results, give yourself a full day.
What if the color fades after repair?
You can use a leather color restorer or dye. Test it on a hidden spot first. This helps you match the color and avoid surprises.
Is coconut oil safe for leather?
Coconut oil can soften leather, but it may darken the color. Use a small amount and test first. For best results, pick a product made for leather.